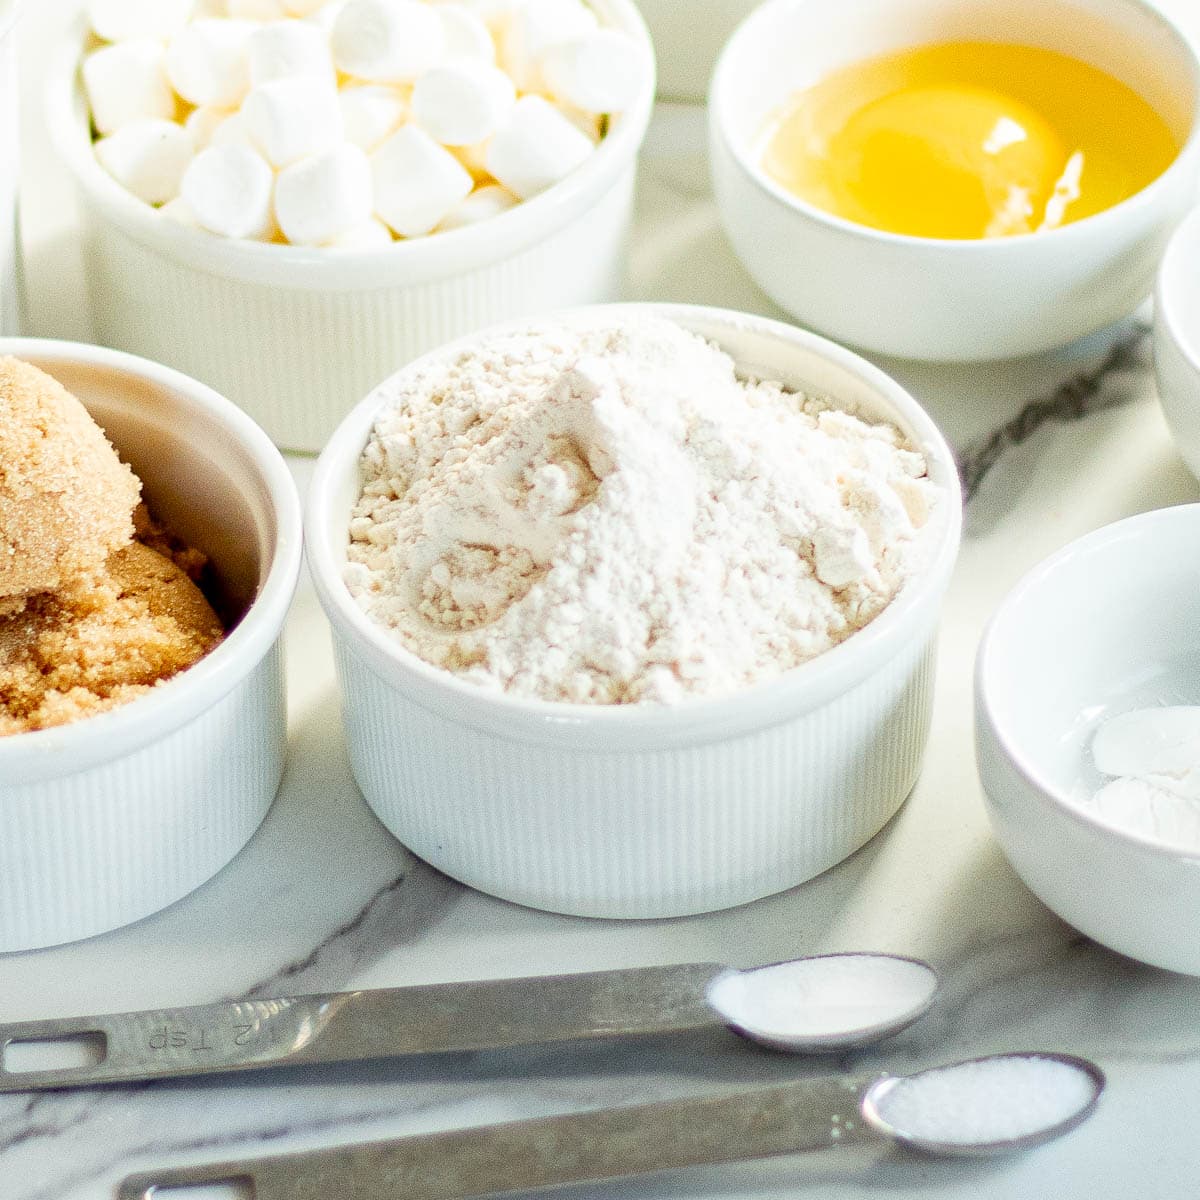
Measuring baking ingredients can be tricky -- whether you're doing cake measurements in cups, want to know how to measure flour or how to measure brown sugar, or you want to measure baking ingredients in grams, you're in luck! I cover it all in this comprehensive guide to measuring techniques in baking!
*This post contains affiliate links — as an Amazon Associate I earn from qualifying purchases. Please see my disclosure for details*.
And if you like this Baking Basics post, check out Browned Butter 101: How to Brown Butter, Berrylicious: Expert tips to make your summer berries last, and Pound Cake vs Bundt Cake - What's the Difference?
What is the best way to measure ingredients when baking?
Let me know if this has happened to you -- you bake a cake and follow the recipe exactly, but it doesn't rise properly. Or your cookies spread way more (or way less) than the recipe said they would. Maybe your frosting isn't as light and fluffy as you thought it would be. Or maybe your homemade bread is crumbly and dry instead of soft and chewy.
All of those issues can be caused by the same issue: inaccurate ingredient measuring! It's one of the most common ways that bakers can run into issues with their baking. Particularly in the United States, where we typically use volume measurements rather than weights, it can be difficult to get the amounts right.
And with baking it's SUCH and important thing to have accurate measurements! Just a few grams can make all the difference in texture, flavor, and appearance. So my hope is that this post will help you to understand the most accurate ways to measure your baking ingredients, and help you to get the results you want!
What are the three basic ways of measuring ingredients?
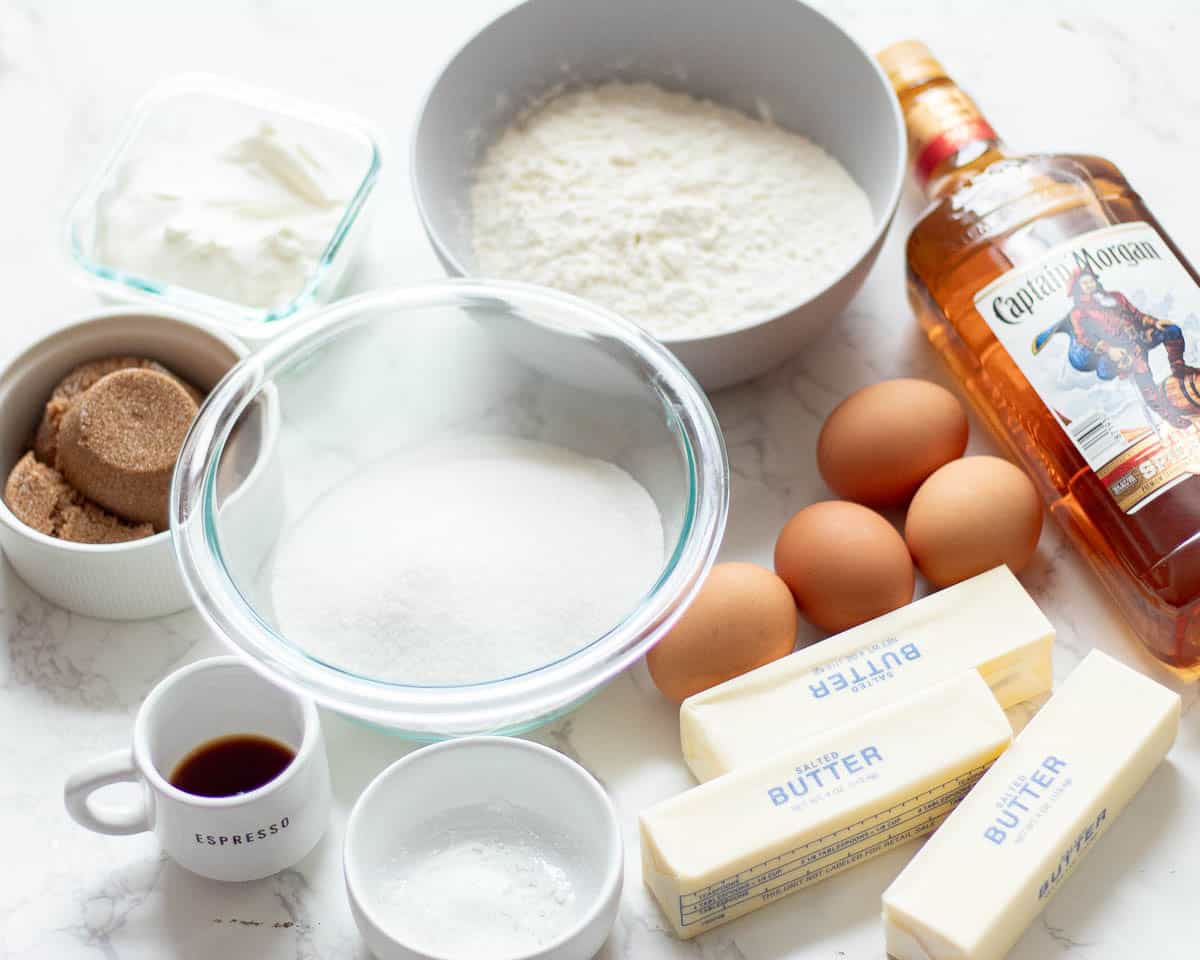
The three basic ways of measuring baking ingredients are by weight using a kitchen scale, by volume using liquid measuring cups, and by volume using dry measuring cups.
How to properly measure ingredients: Flour (and other dry ingredients)
Because dry ingredients can be packed to different densities, the actual amount a measuring cup contains can vary wildly. And it can lead to a lot of confusion and frustration for bakers! Too much flour, powdered sugar, or cocoa powder has a big impact on a recipe.
Around the baking world, the metric system and measurements by weight provides an easy solution to this confusion -- measuring dry (and wet) ingredients in grams and milliliters removes any guesswork (and saves you lots of measuring spoons to wash).
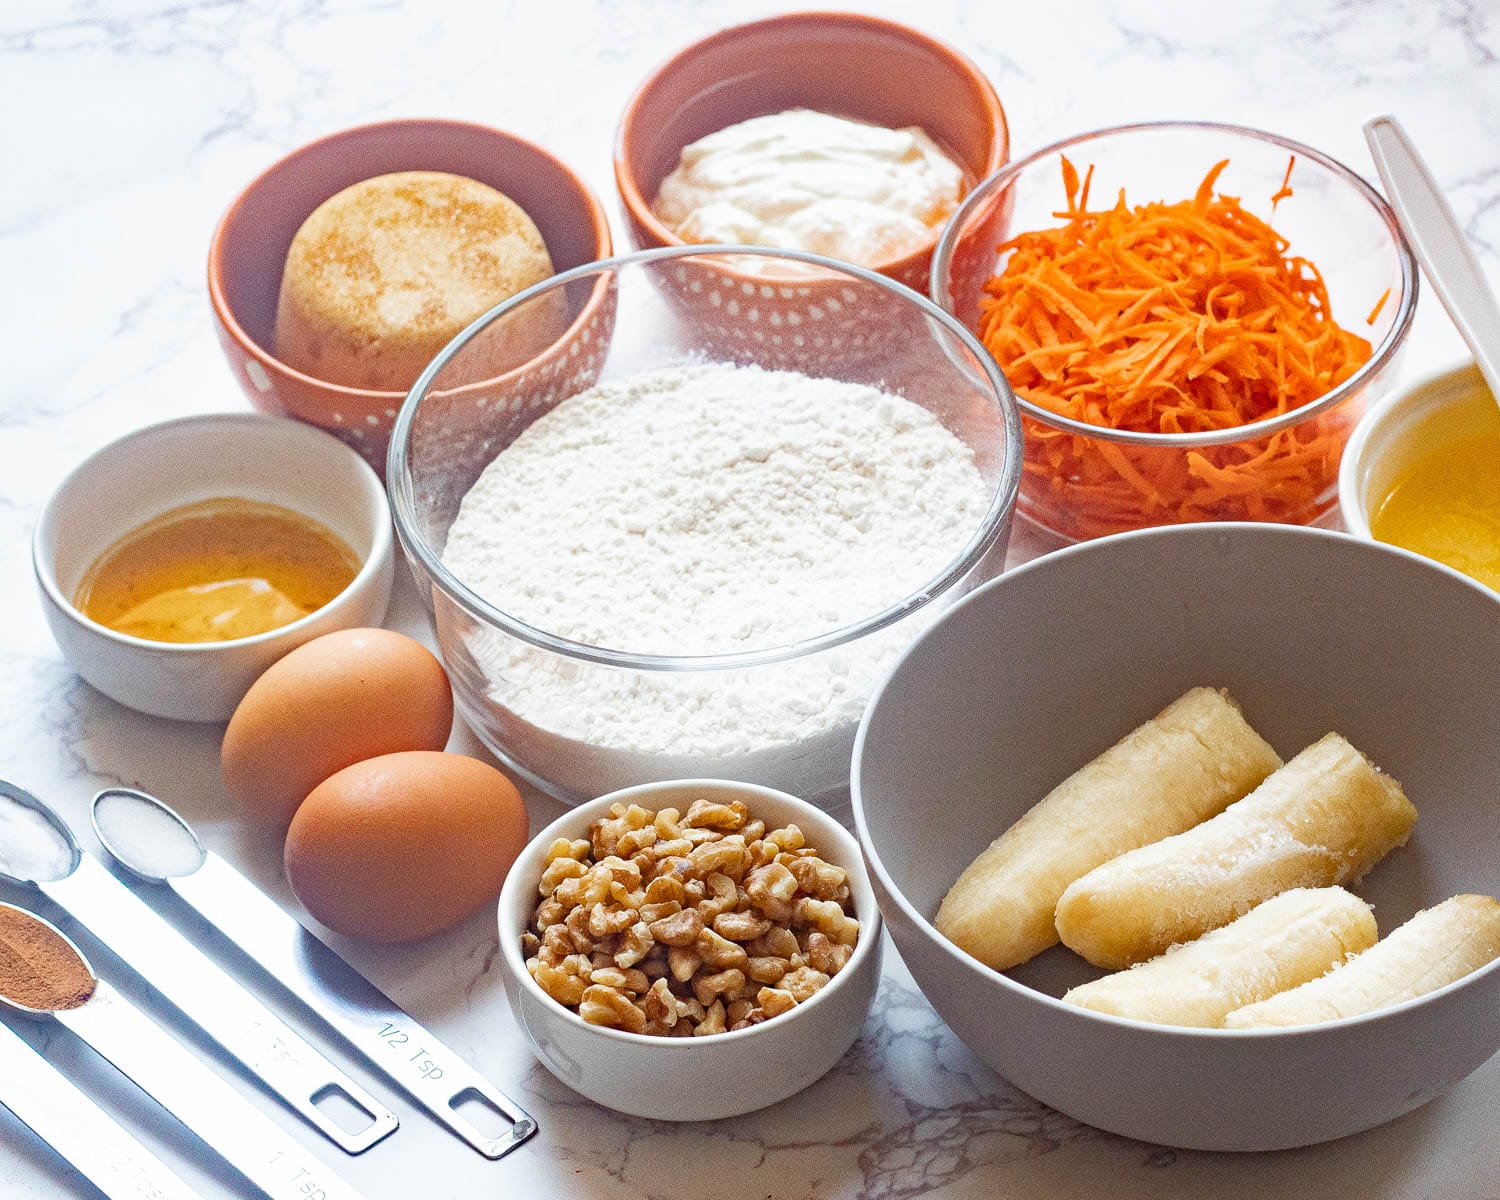
Measuring Baking Ingredients in Grams - Preferred Method
You'll need a kitchen scale, one that includes different modes for different units of measurement, like grams, milliliters, and ounces. It should also have a TARE button that allows you to zero out the weight when you add each ingredient. Here's how it works:
- Place your mixing bowl onto the digital kitchen scale and press TARE to turn on the power and bring the displayed weight to zero. This will cause the scale to disregard the weight of the bowl so that you can measure only the ingredients you're adding to the bowl. Make sure the selected unit reflects what you're measuring (grams, ounces, etc.).
- Add your first ingredient; for instance, let's say your recipe calls for 128 grams of all purpose flour (one cup of flour). Add flour until the display indicates 128 grams of flour. Then press TARE to zero out the display again and you're ready to add your next ingredient, straight into the bowl!
- Repeat with each ingredient, switching units of measurement as needed and pressing TARE between each to zero out the weight.
It's so easy! You're certain to get accurate amounts, AND you don't need to wash a sinkful of measuring cups and spoons! And the best part is that kitchen scales really aren't that expensive! Here are a couple that I've tried and loved:
So now you see why it's so much easier and more accurate to use weight measurements in grams. But if you REALLY prefer using measuring cups, I get it. I know firsthand how easy it is to think of measuring baking ingredients in terms of cups, tablespoons, and teaspoons. So let's take a look at the best ways to make those measurements to achieve the most accurate results!
Dry ingredients: The Spoon-and-Level Method
Much of baking is balancing dry ingredients with wet ingredients, and regulating the amount of moisture in a recipe. And precise amounts of dry ingredients like flour, cornstarch, and sugar are so important to achieving that balance.
So we've got to be accurate when we're measuring baking ingredients! But since varying amounts of dry ingredients can take up the same amount of space in a measuring cup, we need a special method to keep our volume measurements standard: the spoon and level method.

You may have heard of the spoon-and-level method before, and it's your best bet other than using a kitchen scale. Here's how it works, with flour, for example:
- Fluff: First things first: stir or whisk your flour in its container to get it fluffy.
- Spoon: Use a spoon to scoop out spoonfuls into a dry level measuring cup. Hold the cup over a sink, bowl, or larger container to collect any spillage. Do not press down or shake the cup.
- Level: Once the flour has reached the top of the cup and is overflowing, use the back of a knife or other straight edge to scrape across the top to level it off. Add to your recipe as needed.
This method ensures that your flour, powdered sugar, cornstarch, or other dry ingredient doesn't get packed down and affect your finished product. Use this method (if you don't have a kitchen scale) in all your recipes, unless the recipe says otherwise -- it makes a big difference!
How to measure brown sugar
Some recipes call for "packed" ingredients like brown sugar, zest, and herbs, which would require you to press the ingredient down into the measuring cup. So it's important to read your recipes thoroughly before you start prepping ingredients!

Liquid Ingredients: Liquid Measuring Cup
Liquid ingredients are a bit simpler. But there is one thing I want to note: make sure you're using liquid measuring cups to measure liquid ingredients. I'm often guilty of this too: You need ½ cup of milk, and your ½ cup dry measuring cup is right there in your drawer, waiting for you. Whereas your liquid measuring cups are all in the dishwasher. They measure the same amount of liquid, right?
Well, yes. But the difference is in how easy it is to measure out the correct amount. The most accurate way to use a dry measuring cup is to fill it to the very top of the measuring cup, just like when we do with dry measures: we overfill and then level it off.
And in reality, most of us don't do that, either because we're worried about spilling, or because we simply can't tell that it's not quite full. Either way, this can lead to inaccurate measurement.
Liquid measuring cups, on the other hand, are typically clear, and larger than the size of the amount you're measuring. So it's very easy to see exactly where the cutoff is for each measurement and measure accurately without worrying about spilling any liquid. Here are the steps to measuring liquids:
- Place your liquid measuring cup on the kitchen counter or another flat surface.
- Fill your wet measuring cup with your liquid ingredient until it's just beneath the measuring line you're trying to reach.
- Bend or crouch down so that you're at eye level with the measuring line. Add more of your liquid until the center of the liquid surface is right at the measuring line.

What About Measuring Spoons?
When your ingredient amounts are small enough to be measured in teaspoons or tablespoons, it gets a bit simpler. You can just use a good set of measuring spoons for both liquid and dry ingredients. Even with a measuring spoon, I still would recommend going through the process of fluffing, spooning, and leveling for dry ingredients, unless the recipe says otherwise. And of course, a digital scale is still the most accurate and simplest method (I'm like a broken record).
In Conclusion, Get a Kitchen Scale
If you take away nothing else from this discussion, let it be that a kitchen scale is an inexpensive way to make your baking better AND easier. But hopefully you got a lot more from this as well, and you're ready to get going with some baking projects! Why not get started with my simple mini vanilla cake recipe?
And as always, if you have any other questions about baking or any of these tips, feel free to leave a comment below or contact me! Can't wait to hear from you! Happy baking!
PIN this guide to measuring baking ingredients for later!
Last Updated on February 21, 2024 by Chenée Lewis




Comments
No Comments